TUTORIAL 4
Bubble Wrap Dress
Pattern available on my Easy shop: ToxicitaSewWorld
I've drafted a half-scale version for this tutorial.
Fold your bubble wrap or any other fabric, place the pattern on the fold, and cut one piece.
This is the skirt piece after you cut and open it up.
Lay your strap pattern on your material, and cut 2 pieces.
You have 2 straps now.
Place the right side of the straps on the right side of the skirt on both edges.
Sew the edges, or use tape.
If you are sewing this item, I recommend using the leather presser foot, it will sew like butter :)
Sew with a longer stitch. I used black thread for demonstration purposes only.
Try the dress on to determine the placement of the straps on the back waist line.
Sew at 1/4 ".
Fold the seam allowance towards the inside of the skirt.
Fold the width of the seam allowance throughout the entire length of the waist line.
You'll end up with a neat edge, and matching thread of course! :)
The back of the straps form a diamond, and I like to sew it down, along all 4 edges.
Now, choose your favorite glow in the dark color and paint the diamond!
This is the final look.
Now your dress will glow in the dark, and no yucky black thread will be seen :)
Embellish with other glow in the dark accessories, and enjoy the party!
If you re-create this look, please send me pictures at: toxicitaseworld@gmail.com, and I will post them on my blog.
Thank you
...........................................................................................................
TUTORIAL 3
Follow this to shorten a zipper
STEPS
1. Mark the zipper to the desired length
2. Double the thread and whip stitch over the zipper teeth (1 in below the mark)
3. Make a knot
4. Cut the zipper 1/2 in bellow the stitches (I used pinking sheers)
..............................................................................................................
TUTORIAL 2
Family Request
During one cloudy evening, my cousin and I decided to make her a dress form........and after hours of torturing her bladder and not breathing................here it is!!!!!!
STEPS
1. I marked her dress form at the apex, waist and both center front and back.
2. I drapped half of the right front side and half of the right back side.
MORE STEPS
1. Top picture shows the 2 pieces that will make the bodice.
2. Front piece was cut on the fold.
3. Back piece was cut twice on single layered fabric.
4. Both front and back piece have darts.
FINAL STEPS
1. The skirt was cut circular and attached to the bodice.
2. Now......... to the fabric store to buy the actual fabric.
SPECIAL NOTE: MIJIT, STILL WANT THE DRESS IN BLACK?
STAY TUNE FOR THE FINAL REVEAL!!!!!!!!!
.............................................................................................................
TUTORIAL 1
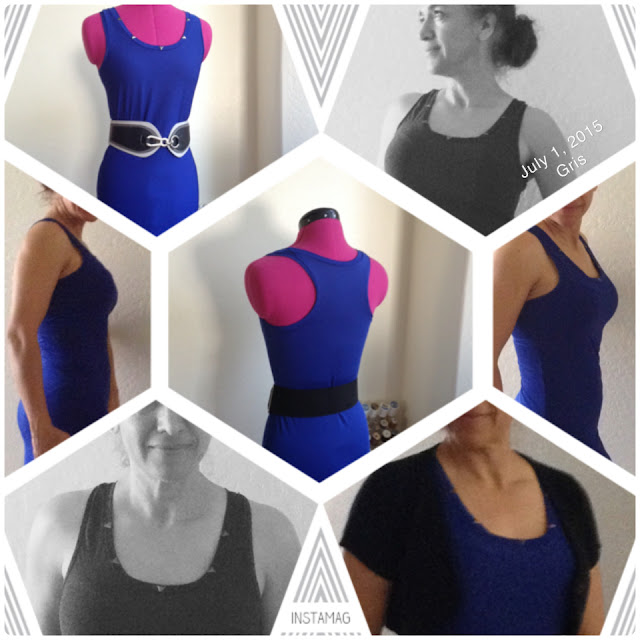
Design an everyday dress from a shirt
STEPS
1. Lay your desired shirt on the fabric
2. Trace the outline of the shirt (front)
3. Fold the fabric in half to obtain symmetry
4. Cut, now you have the front piece
5. Lay shirt folded in half on fabric
6. Trace he outline of the shirt (back)
7. Cut, now you have the back piece
STEPS
1. Place a strip of stay tape on one shoulder (this will add support)
2. Sew the shoulder (I used my serger)
3. Place a strip of stay tape on only the back piece (do not sew these shoulders yet)
4. Measure the length of the neckline
5. and 6. Cut the desired width of bias tape for the neckline finish
(I cut 1 1/2 in wide by 28in in length)
NOTE: Since I used a jersey like material, and it is very stretchy, I cut my bias strip on the grain.
7. Attach the bias tape to the neck line by tugging gently on the strip as you sew
8. Finished neck line
FINAL STEPS
1. Create a bias tape for the armscye
2. Sew side seams
3. Finish the edge of the hem
4. Fold the desired hem length (I used 5/8 in)
5. I removed the extension table from my sewing machine
6. Set your sewing machine to a long stitch
7. Embellish (I added studs to the neckline)
BLUE DRESS, HAPPY MOM


No comments:
Post a Comment